How to Use Jump Cuts to Hold Attention Without Creating Visual Noise
A jump cut can make a talking-head video feel clear, confident, and alive.
It can also make the same video feel frantic, repetitive, and strangely exhausting.
The difference is not the number of cuts. It is whether each cut changes something the viewer cares about.
Used well, jump cuts remove dead space, sharpen a thought, and create emphasis. Used mechanically, they turn every sentence into the same visual interruption.
This guide shows how to build a cut rhythm around meaning rather than a stopwatch.
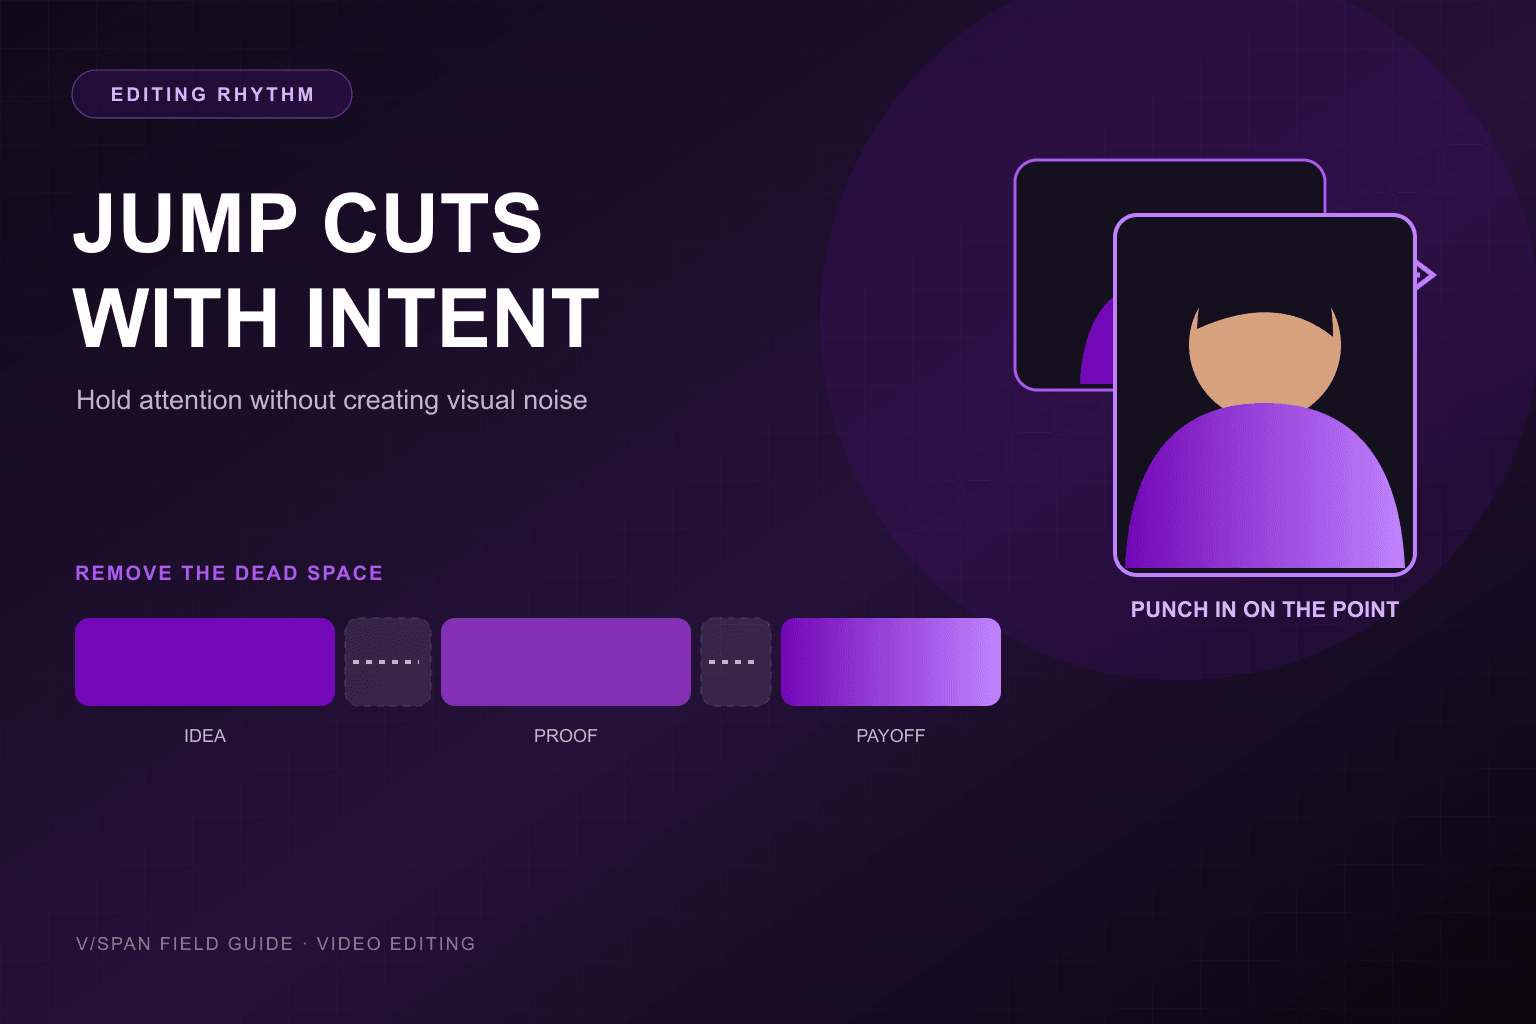
What is a jump cut?
A jump cut joins two parts of a continuous shot while removing the time between them. Because the camera position stays similar but the subject’s position or expression changes, the viewer perceives a “jump.”
In talking-head video, jump cuts commonly remove:
- False starts and repeated phrases
- Long searches for the next word
- Pauses that do not add meaning
- Off-topic sections
- Mistakes followed by a better take
A jump cut can remain visually obvious, or it can be softened with a punch-in, alternate angle, B-roll, or graphic. Those treatments are choices, not requirements.
Why jump cuts can hold attention
Jump cuts work through three mechanisms.
1. Compression
The viewer receives the useful part of the thought without waiting through the speaker’s preparation.
This is the most reliable benefit. You are not adding stimulation; you are removing material that did not deserve the viewer’s time.
2. Information change
A good cut moves from setup to evidence, from claim to example, or from problem to resolution. The viewer gets a reason to keep watching because the idea advances.
3. Visual emphasis
A modest punch-in or angle change can signal, “this phrase matters.” When used selectively, the change creates a visual accent.
The key word is selectively. If every phrase receives an accent, none of them does.
Do not cut on a fixed timer
“Add a cut every two seconds” is easy to teach and often bad to follow.
A dense explanation may need several quick cuts to remove repeated setup. An emotional customer statement may need an uninterrupted pause. A product demonstration may need one continuous shot so the viewer can understand cause and effect.
Instead of asking when the timer says to cut, ask:
- Has the idea advanced?
- Is this pause doing useful work?
- Is the viewer waiting for information they already understand?
- Would a visual change add emphasis or merely activity?
- Does the next sentence deserve a new section, a tighter frame, or an uninterrupted connection?
Cut at the boundary between thoughts, not in the middle of a thought just because the screen has been stable.
Start with the content pass
Before touching scale, transitions, or B-roll, make a content-only edit.
Pass 1: Remove the obvious waste
Cut false starts, technical interruptions, duplicated setup, and tangents. Do not worry yet about whether the joins are visible.
Pass 2: Strengthen the argument
Reorder sections if the current take buries the useful answer. Move the strongest example closer to the claim it supports. Remove a second example if it repeats the first without adding a new condition.
Pass 3: Preserve intentional pauses
Keep the beat before an important admission, the breath after a strong statement, and the moment a customer chooses a careful phrase. Natural speech is not dead space by default.
Pass 4: Choose the visual treatment
Only now decide which joins should be invisible, visible, punched in, or covered with evidence.
This order prevents a common editing failure: a beautiful treatment applied to a sequence that should have been removed.
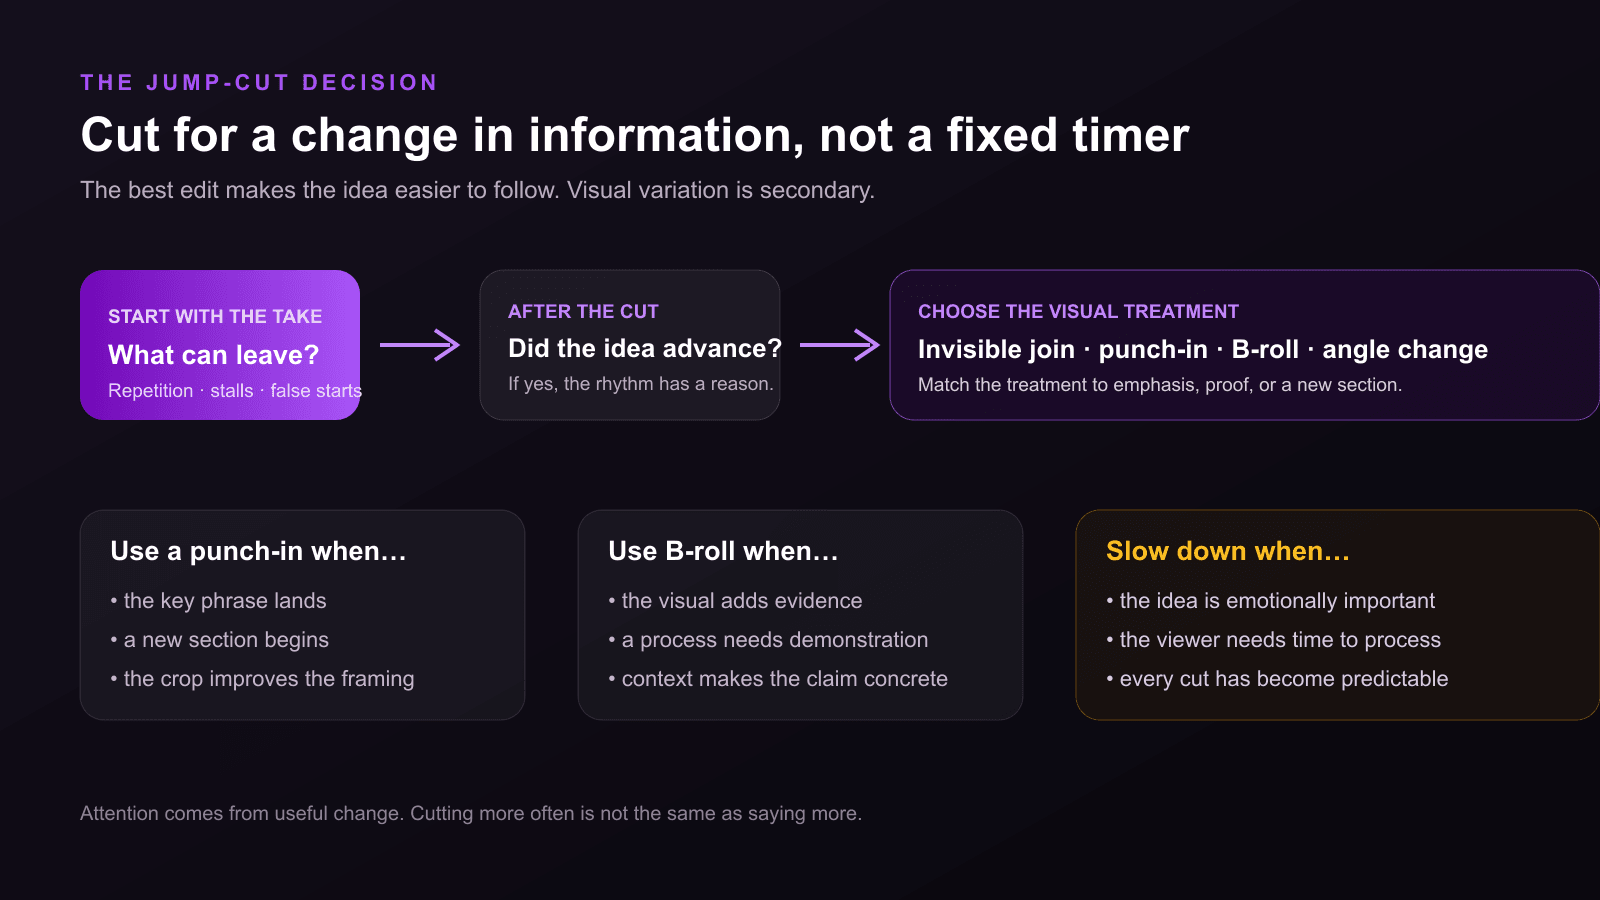
Five jump-cut techniques and when to use them
1. The direct join
Keep the same framing and cut directly from one useful phrase to the next.
Use it when:
- The speaker’s position is close enough between takes
- The pace feels conversational
- A visible jump suits the direct, informal style
- You do not need to hide the edit
Watch for abrupt changes in hand position, gaze, posture, or audio tone. A tiny adjustment at the cut point can often improve continuity.
2. The punch-in
Change the crop slightly at the cut—often a modest single-digit to low-double-digit percentage rather than an extreme zoom.
Use it when:
- The key phrase deserves emphasis
- A new section begins
- The speaker’s energy changes
- The original framing needs improvement
- You want the viewer to feel a deliberate reset
Avoid alternating wide, tight, wide, tight on every sentence. That creates a metronome effect. Vary the treatment according to the structure.
Check resolution before cropping, especially when the master will also become a vertical deliverable. Our talking-head framing guide explains how to protect those crops.
3. The angle change
Cut to a second camera or a genuinely different setup.
Use it for longer explanations, interviews, and moments where a new perspective adds energy. A meaningful angle difference generally feels more intentional than two nearly identical camera positions.
Keep screen direction and eye lines coherent so the viewer does not have to reorient at every cut.
4. The B-roll cover
Place a relevant visual over the join while preserving the speaker’s audio.
Use B-roll when it adds:
- Evidence
- Context
- A process or product demonstration
- A specific location or person
- Emotional texture that supports the statement
Do not use generic motion solely to conceal an edit. A direct join is usually better than an unrelated clip of someone typing.
5. The graphic reset
Introduce a keyword, simple diagram, quote, or chapter label at the cut.
This works when the visual organizes information. It fails when it repeats every spoken word or asks the viewer to read a paragraph while listening to another one.
A practical 45-second edit
Imagine a leadership video with this raw sequence:
| Raw section | Problem | Editing decision |
|---|---|---|
| “Today I want to talk about…” | Delays the topic | Remove; start with the tension |
| First explanation of the problem | Useful | Keep in the master framing |
| Repeated explanation with a stronger final sentence | Duplicates the setup | Keep only the stronger sentence |
| Search for the customer example | Dead space | Cut directly into the example |
| Customer example | Concrete evidence | Cover part with approved product or customer footage |
| “The thing nobody tells you…” | Empty suspense | Remove unless the payoff is genuinely surprising |
| Three-part framework | Useful but dense | Use a new crop or simple graphic at each genuine step |
| Closing takeaway | Important | Hold the frame; let the sentence land |
| Repeated CTA | Dilutes the next step | Keep one invitation |
The finished timeline might contain eight cuts or eighteen. Either can be right. The count is an outcome of the material, not the brief.
Make the audio carry the join
Viewers often notice an audio discontinuity before they notice a visual one.
Check every cut for:
- Room tone that disappears or changes level
- A breath chopped into an unnatural fragment
- Different microphone tone between takes
- Music that jumps at the edit
- Words clipped at the beginning or end
Use short audio crossfades where appropriate, preserve consistent room tone, and let a natural breath remain when it helps the sentence.
In interviews, J-cuts and L-cuts can make the sequence feel continuous: let the next speaker’s audio begin before their picture, or hold the current listener while the previous voice finishes. These techniques preserve conversational flow while still allowing visual variety.
Vary the rhythm around meaning
A useful short-form rhythm might look like this:
- Opening: Direct and economical; remove setup
- First claim: Give the sentence enough space to register
- Proof: Use the visual that best explains the evidence
- Framework: Increase visual structure as the steps change
- Takeaway: Slow down and return to the speaker
Notice that the ending may need less stimulation than the beginning. Constant acceleration is not the only way to sustain attention. Contrast also creates energy.
Review the cut with sound on and off
Watch once with sound to judge speech, breath, and tonal continuity.
Watch again without sound to inspect:
- Captions and text timing
- Eye-line changes
- Hand and posture jumps
- Punch-in consistency
- Whether visuals still communicate the structure
Avoid rapid flashing, high-contrast flicker, or effects that make the text harder to read. If motion is essential to the content, keep it purposeful and give the viewer’s eyes stable anchors such as consistent caption placement.
Measure the effect honestly
Audience-retention charts can help you diagnose a sequence, but they do not explain themselves.
Compare videos with similar topics, durations, audiences, and distribution. Look for:
- Drop-offs immediately after confusing joins
- Replays around dense or valuable sections
- Early exits caused by delayed substance rather than too few cuts
- Relative improvements after tightening a repeated format
Do not label a drop-off “caused by the jump cut” without checking the words and visuals at that moment. Often the edit reveals a content problem; it did not create it.
The final editing test
Play every join and ask:
- What did this cut remove?
- How did the idea change?
- Why does the picture change—or stay the same?
- Does the audio feel continuous?
- Can the viewer process the important phrase?
If the only answer is “it had been a few seconds,” try a different decision.
The best jump cuts do not merely make a video faster. They make the viewer feel that every second contained a reason to keep watching.
Read more
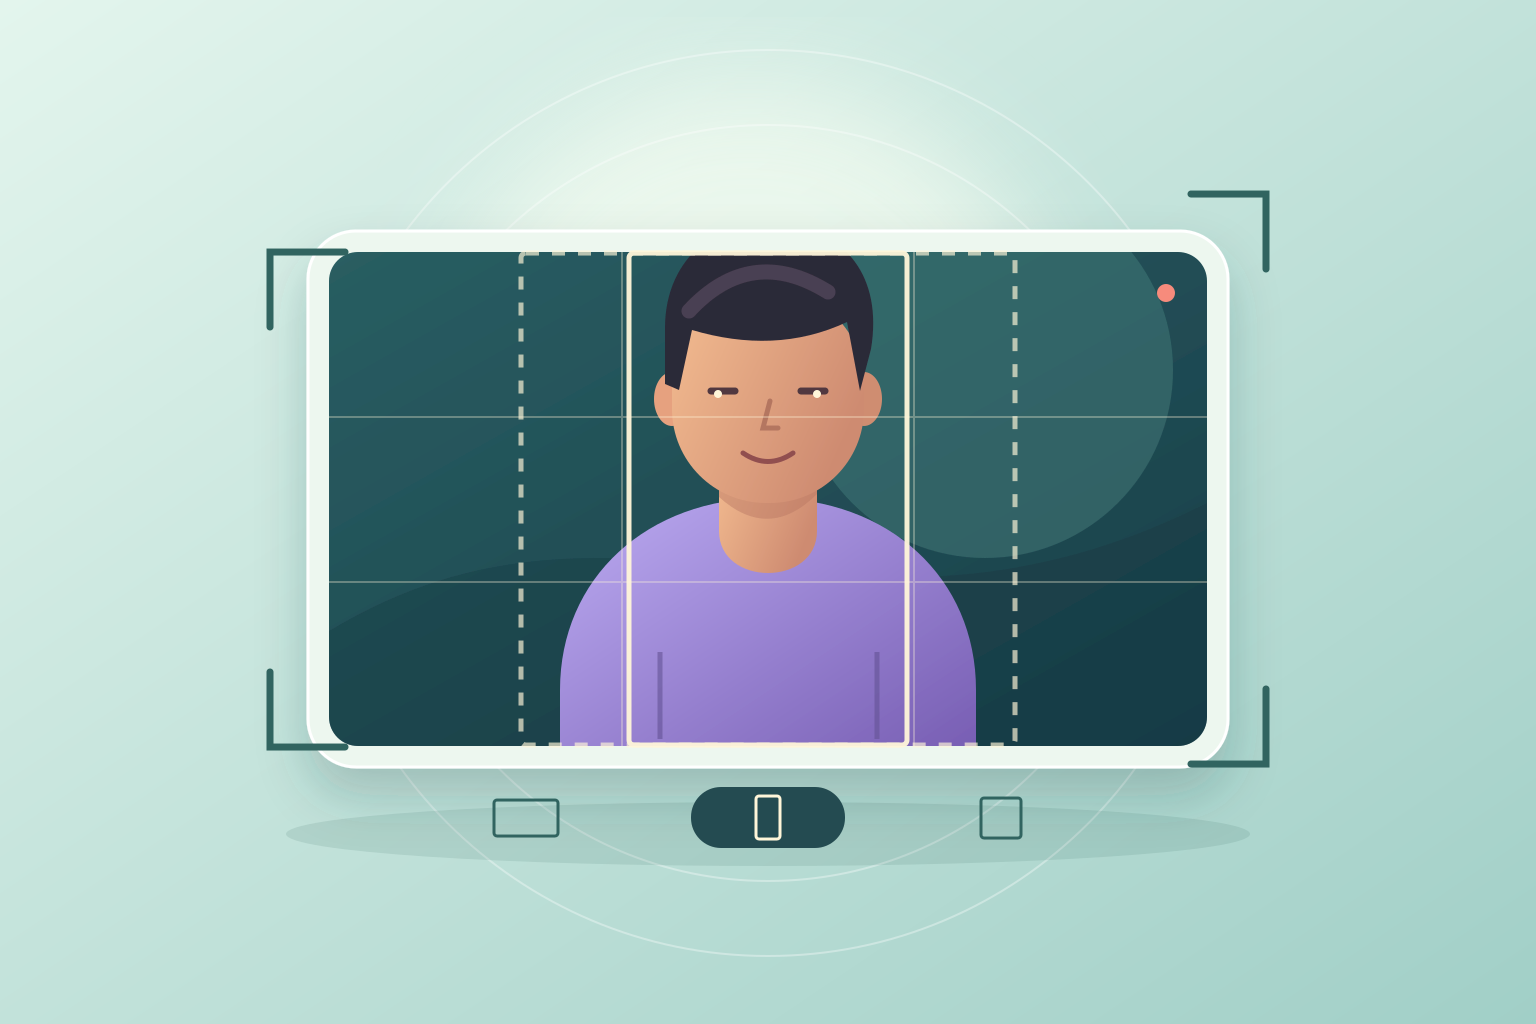
Talking-Head Video Positioning: Where to Sit for Every Aspect Ratio
An interactive framing guide for 9:16, 4:5, 1:1, and 16:9 talking-head video, including eye lines, speaker placement, caption safe zones, graphics, and multi-format capture.

How to Convey Brand Meaning in a 30-Second Video
A practical 30-second video framework for turning one brand idea into a clear signal, credible proof, and memorable expression—without relying on a longer logo animation.
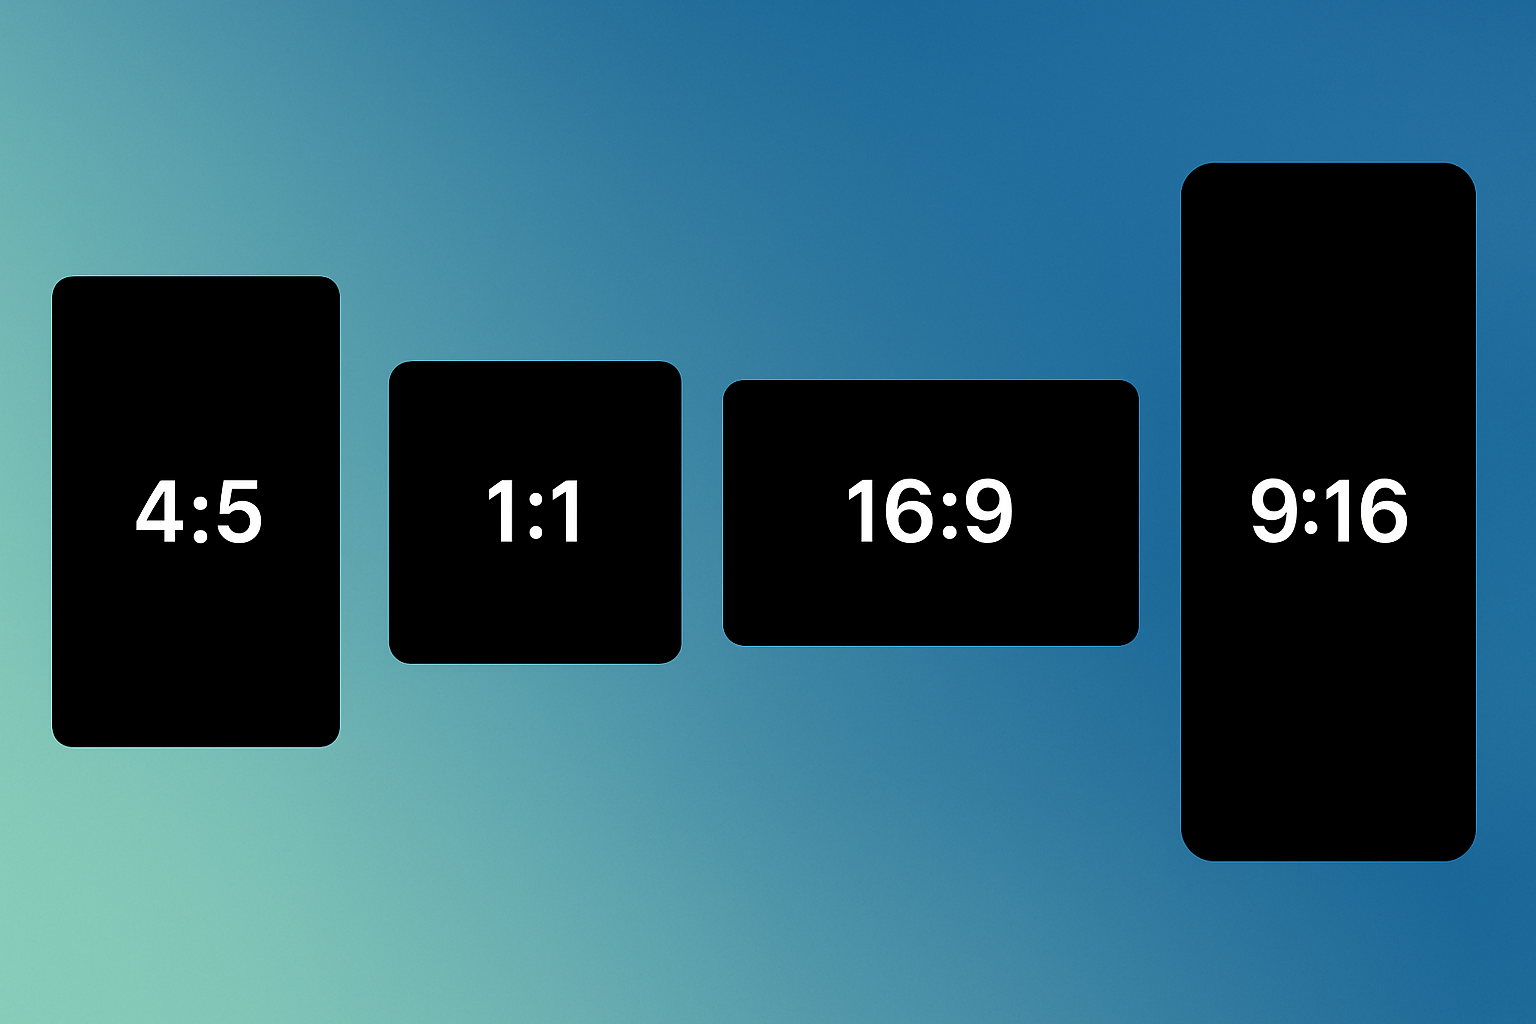
When to Use 4:5, 1:1, 16:9, and 9:16 Video Aspect Ratios (Complete Guide)
A practical guide explaining when to use each major video aspect ratio: 4:5, 1:1, 16:9, and 9:16 across LinkedIn, Instagram, YouTube, TikTok, and internal channels.